Published:2024-09-06 15:36:17Source:JuxiaAuthor:Juxia
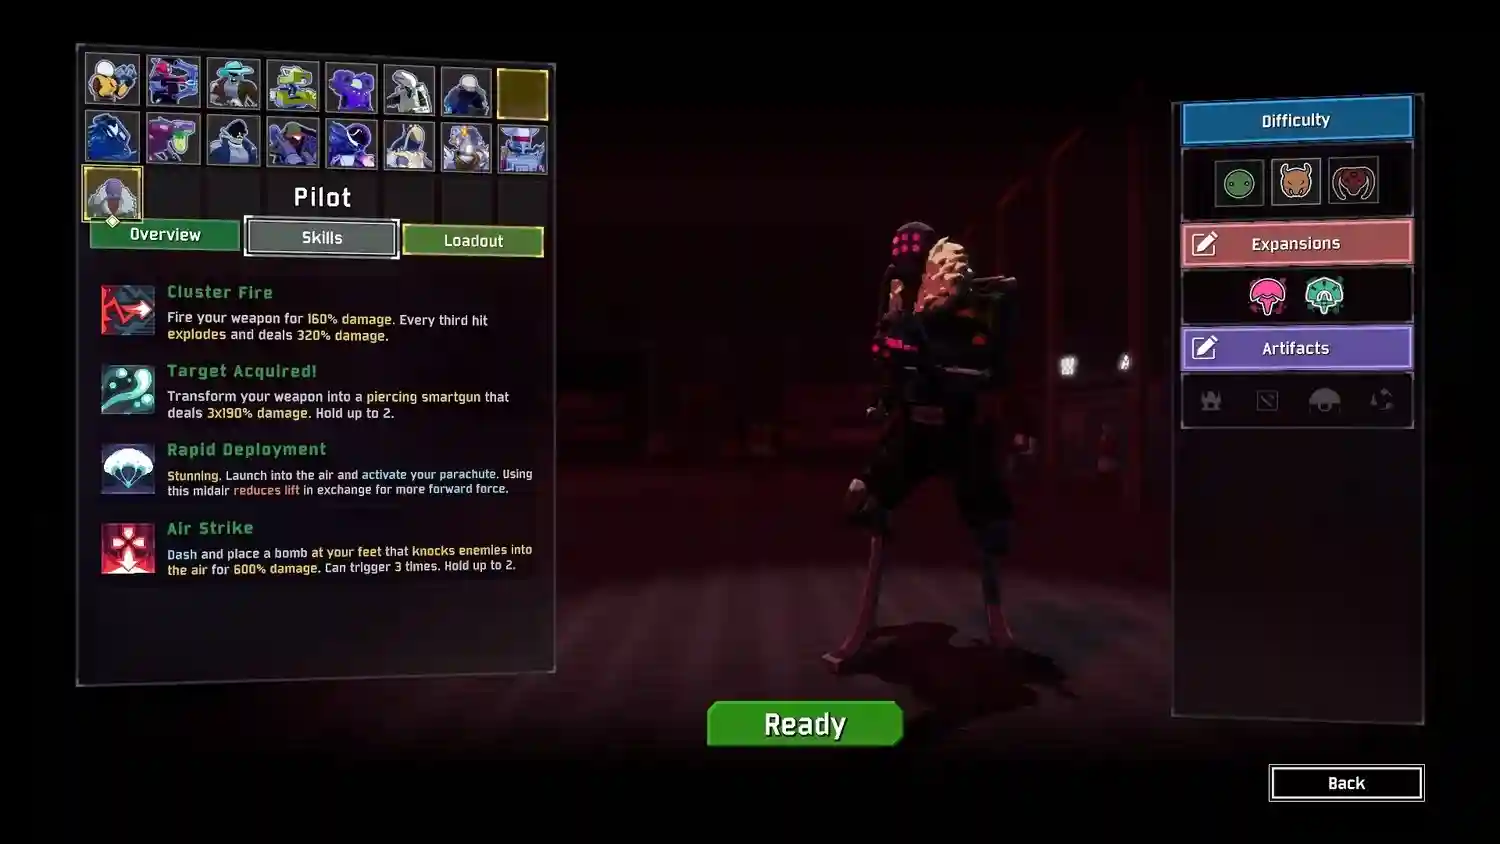
Risk of Rain 2 is already packed with content that keeps players coming back for more, but for those seeking a fresh experience, the game offers a wealth of mods to enhance or drastically change the gameplay. These mods are available for free and are relatively easy to install once you know how to do it.
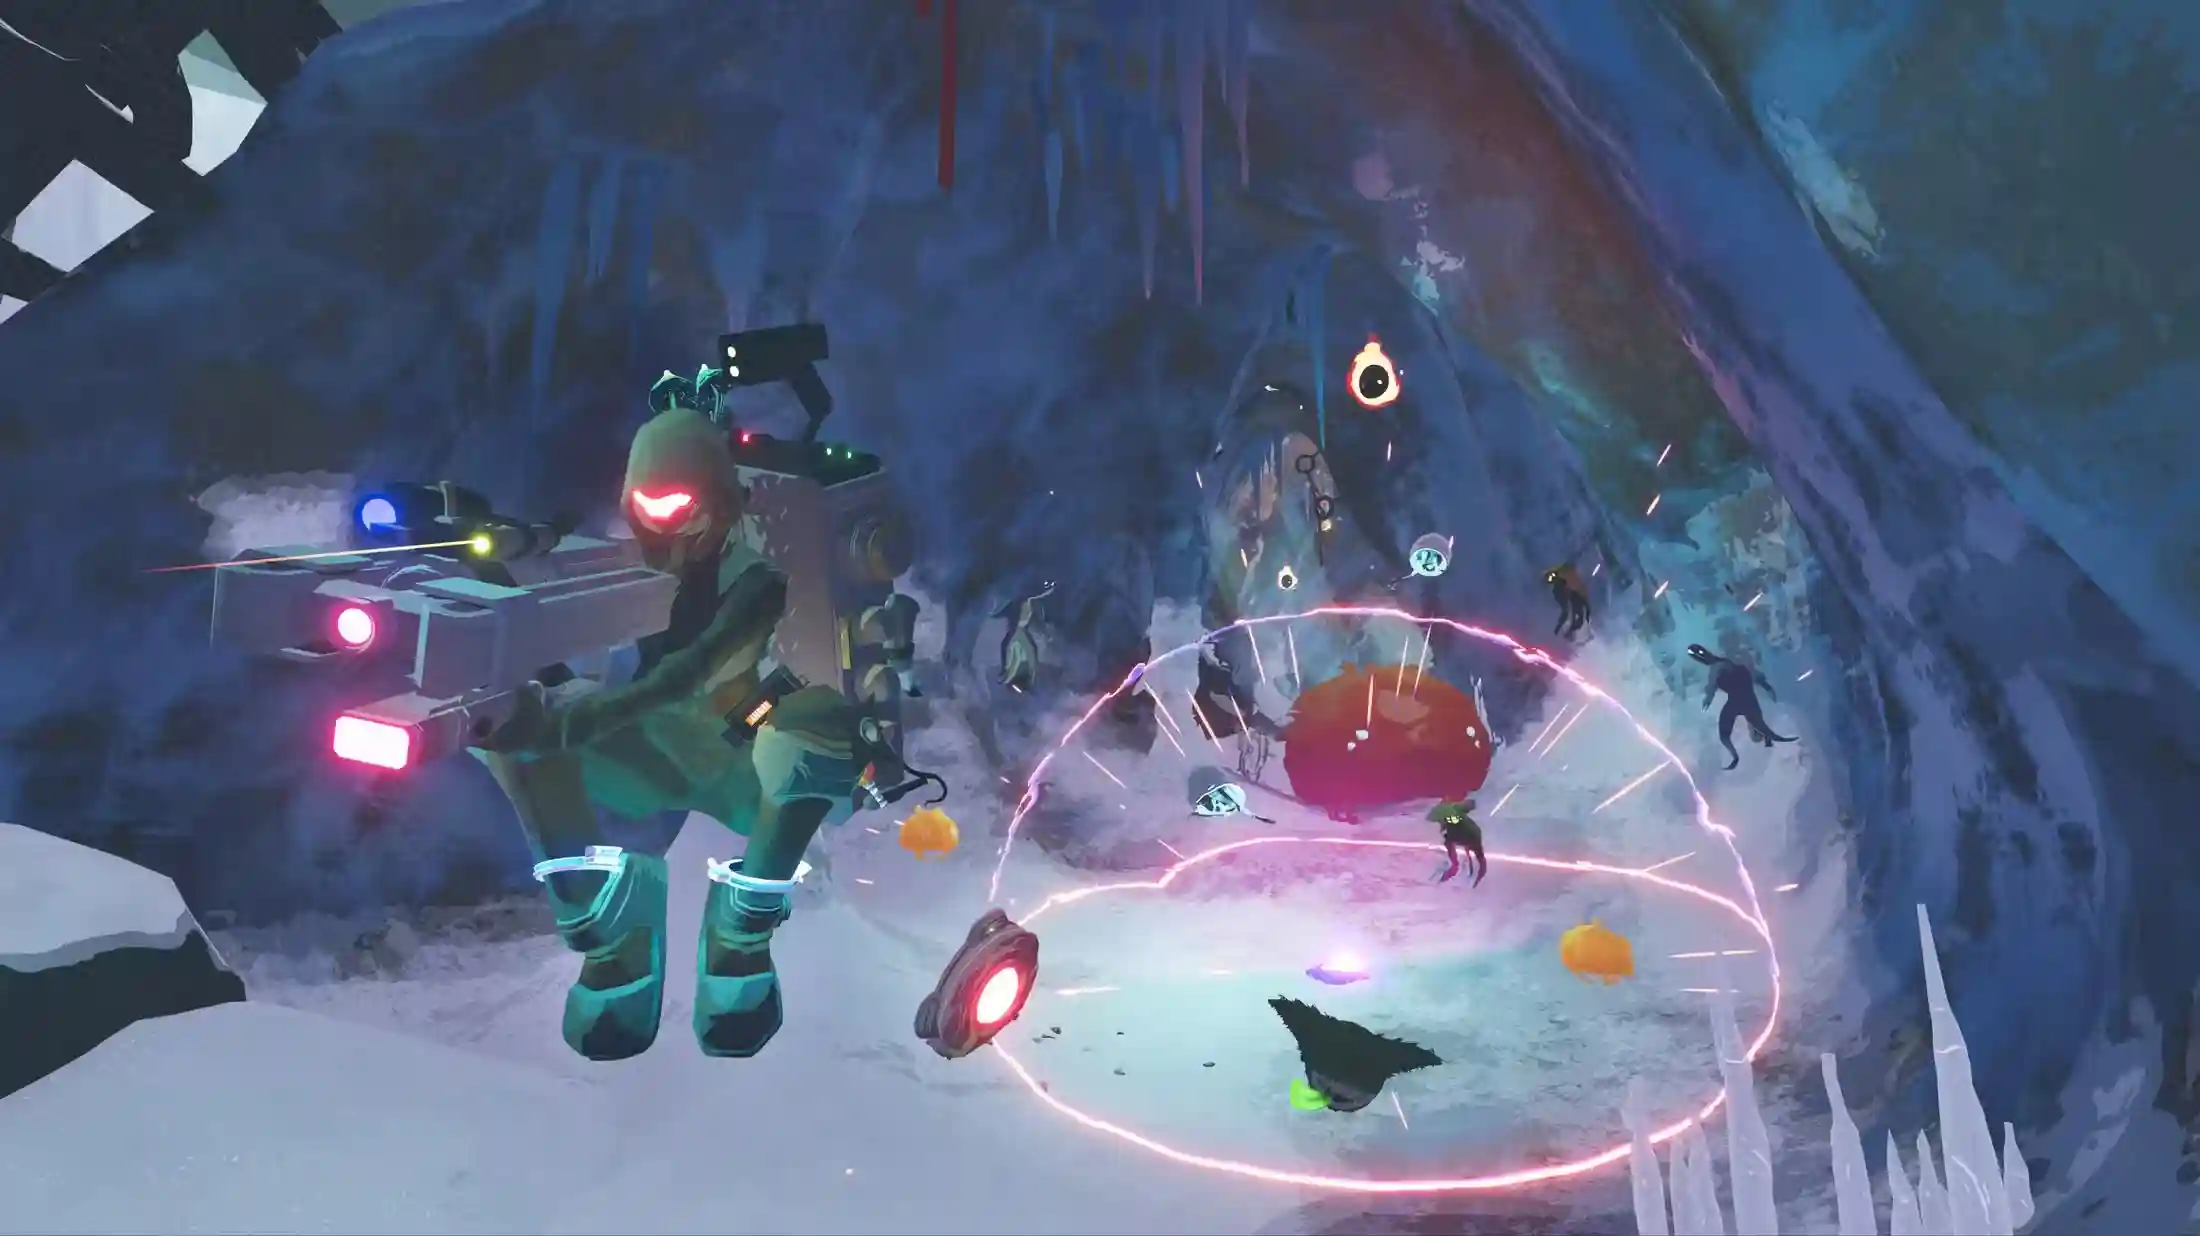
If you're interested in altering gameplay mechanics, adding new characters, or bringing some extra flair to your Risk of Rain 2 sessions, there are plenty of mods to suit your taste. Installing mods on the PC version of the game might seem complicated at first, but the process is quite manageable with the right tools.
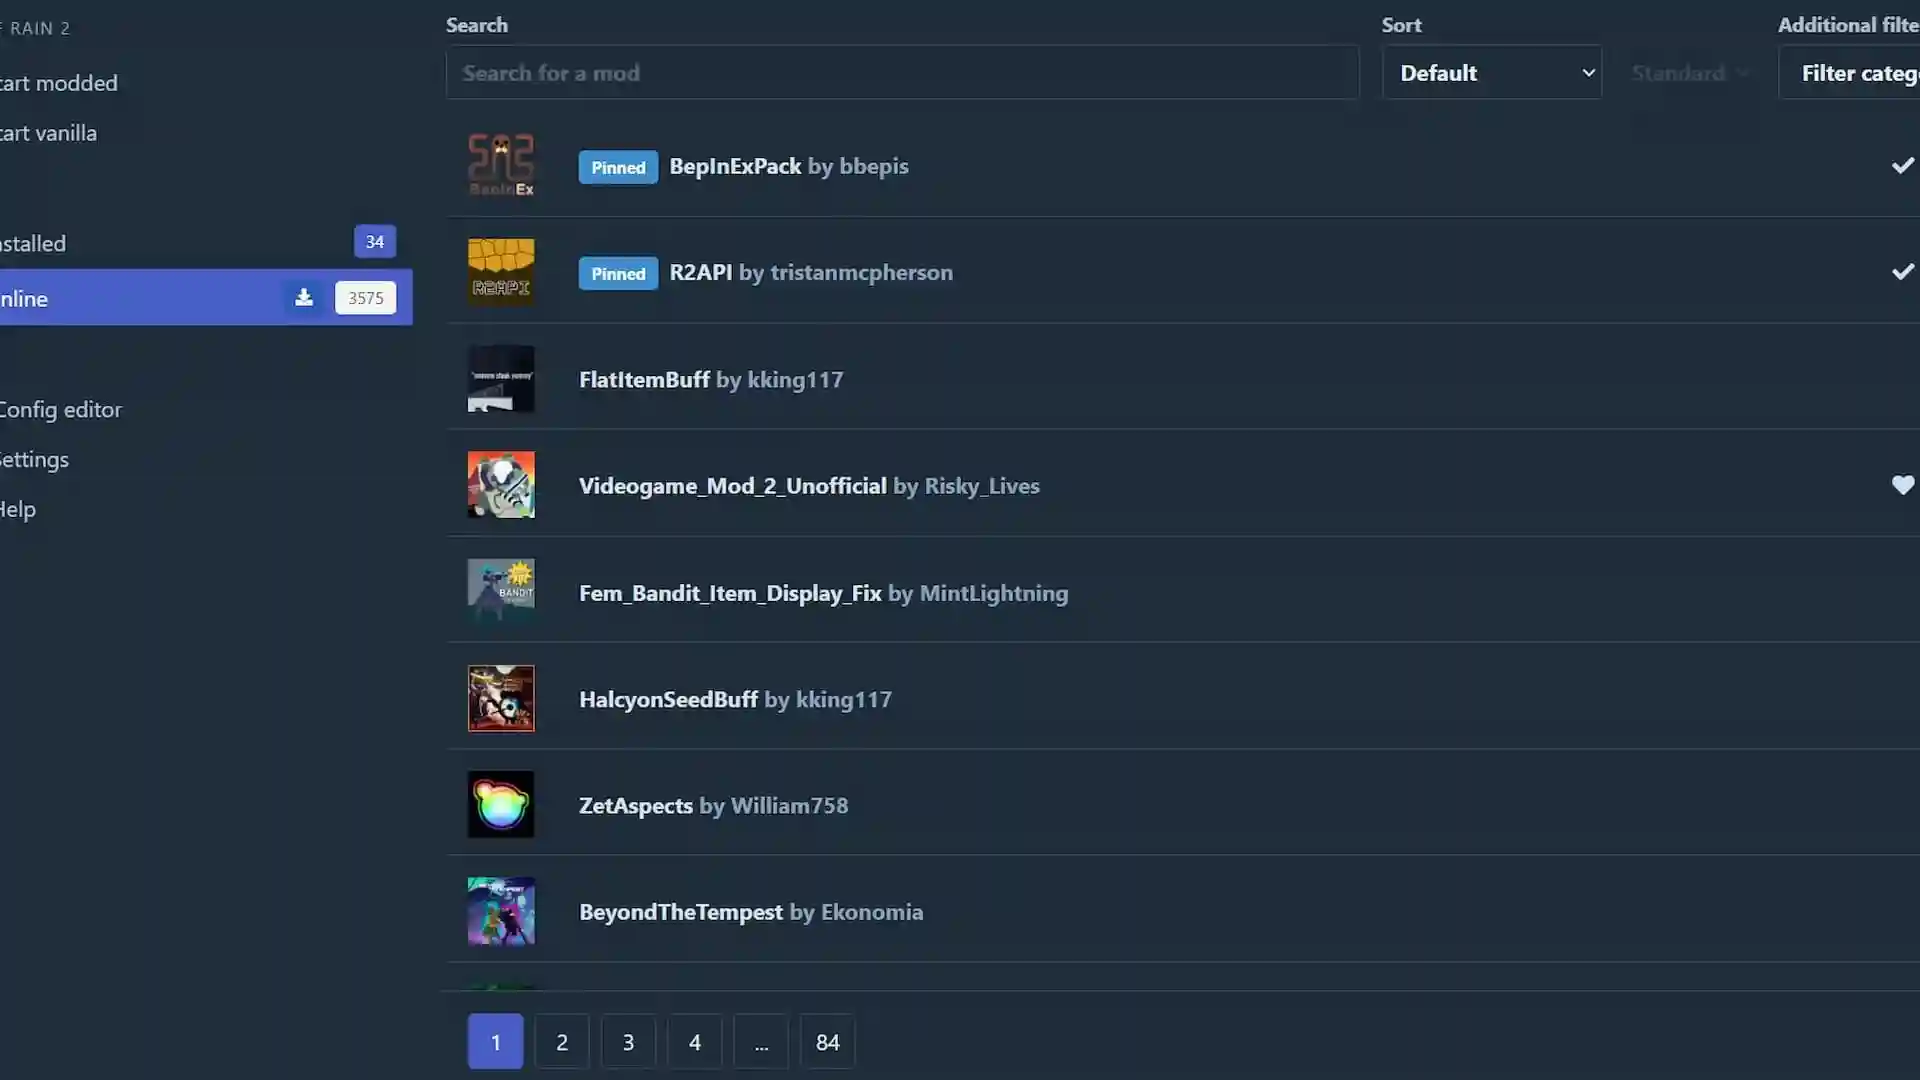
The quickest and simplest method to install mods for Risk of Rain 2 is by using r2modman, a mod manager available on Thunderstore. It features a user-friendly interface and comes with a built-in browser that provides access to some of the best mods the community has created. Here's how to get started:
1. Download r2modman from Thunderstore.io.
2. Extract the files to a location on your PC, then run the installer.
3. Launch r2modman.
4. Select Risk of Rain 2 from the game list.
5. Choose between Steam or the Epic Games Store, depending on where you purchased the game.
6. Create a new profile.
7. Navigate to the "Online" tab on the left.
8. Browse and select the mods you want to download.
9. Click the "Start Modded" button to launch the game with mods.
Using r2modman automates the mod installation process, so you don’t need to worry about manually moving files into specific folders. It's also a great way to discover and experiment with new character mods if you're looking to diversify your Risk of Rain 2 experience.
For players who prefer a more hands-on approach, it’s possible to install mods manually. All the mods you'll need are available on Thunderstore. Follow these steps for manual installation:
1. Download BepInExPack and its required files from Thunderstore.io.
2. Extract the BepInEx folder, along with winhttp.dll and doorstop files, into your Risk of Rain 2 installation folder (make sure everything is in the same folder as the game's executable file).
3. Download your desired mods and place them in the BepInEx → Plugins folder.
4. Launch Risk of Rain 2 through Steam.
With the manual method, you’ll need to copy the necessary BepInEx files to the game’s directory, ensuring that they’re placed correctly for everything to work. The same approach applies when installing new content like survivor skins or other mods—simply add the .dll files to the Plugins folder, and you’re good to go.
However, manual modding can be a bit hit-or-miss, with potential issues arising during the installation process. For this reason, using a mod manager like r2modman is highly recommended, as it simplifies the process and minimizes the risk of errors.
Modding Risk of Rain 2 opens up a world of possibilities for enhancing your gameplay experience. Whether you prefer an automated solution like r2modman or a more hands-on manual installation, these steps will help you unlock the full potential of mods and add even more replayability to the game. Dive in and explore new characters, gameplay tweaks, and custom content to keep your adventures fresh!
Juxia Figure Review - Hatsune Miku 100th Adventure Ver Preorder Now!
Juxia Game Review – WoW Midnight Deep Dive: Release Date, Player Housing, and Prey System!

Juxia Anime Review - 'The Demon King’s Daughter Is Too Kind!!' Anime Upcoming Adaptation!

Juxia Anime Review - OSHI NO KO Season 3 Release Date, Trailer, and Story Predictions!
Juxia Game Review - Koei Tecmo’s Atelier Ryza ASMR Hits DLsite!

Juxia Game Review - Elon Musk Just Challenged LoL Pros With Grok 5, and the Internet Is Losing It!
Juxia Game Review - The Ultimate Final Fantasy VII Remake Intergrade Switch 2 & Xbox Breakdown

Juxia Figure Review – 15th Anniversary Junko Enoshima Figure Every Fan Needs!
Juxia Movie Review - The Legend of Zelda Live-Action Movie Coming Soon!
Juxia Game Review - Where Winds Meet Surged Past 2 Million Players on Day One!

Last Garden: Survival
| Strategy

Tabla Drum Kit Music
| Music

M3 Real Car Simulator 2026
| Sports

Türkiye Ligi 2026: Head Soccer
| Sports

Minibus Car Simulator Real Van
| Simulation

World Head Soccer Cup 2026
| Sports
Tokyo Drift Crash
| Sports

Racing Car Drifting Car Game
| Sports
Juxia Game Review - Koei Tecmo’s Atelier Ryza ASMR Hits DLsite!
Juxia Anime Review - You Can't Be in a Rom-Com with Your Childhood Friends! Anime Adaptation
Juxia Anime Review - Why You Should Revisit Chained Soldier Explosive First Season
Transform Text and Photos into incredibly creative emojis with 'AI Emoji'
Sword of Justice Global Launches Soon - Everything You Must Know!
Sword of Justice Class Guide (7) - All School Classes Explained & Reviewed!
Sword of Justice Class Guide (6) - Sylph: Healing, Revival, and Grace in Battle!
Sword of Justice Class Guide (5) - Ironclad: Why This Rare Tank Class Is Worth Playing!
Sword of Justice Class Guide (4) - Numina: Master the Art of Poison and Tactical Combat!
LIVE A HERO
Retro Hero Mr Kim
Empire of Passion
Arcane Quest Legends
Magic Snap: Momotaro
AllStar Manga Heroes
Lunescape
ONE PIECE Thousand Storm JP
Tap Titans 2