Published:2024-08-30 12:16:50Source:JuxiaAuthor:Juxia
For years, Minecraft capes were a rare cosmetic item, mostly reserved for a select few. However, Mojang Studios has recently opened up new opportunities for players to earn and enjoy these exclusive items. Whether you’re playing Minecraft Java Edition or Minecraft Bedrock Edition, this guide will help you understand how to obtain, view, and equip capes in the game.
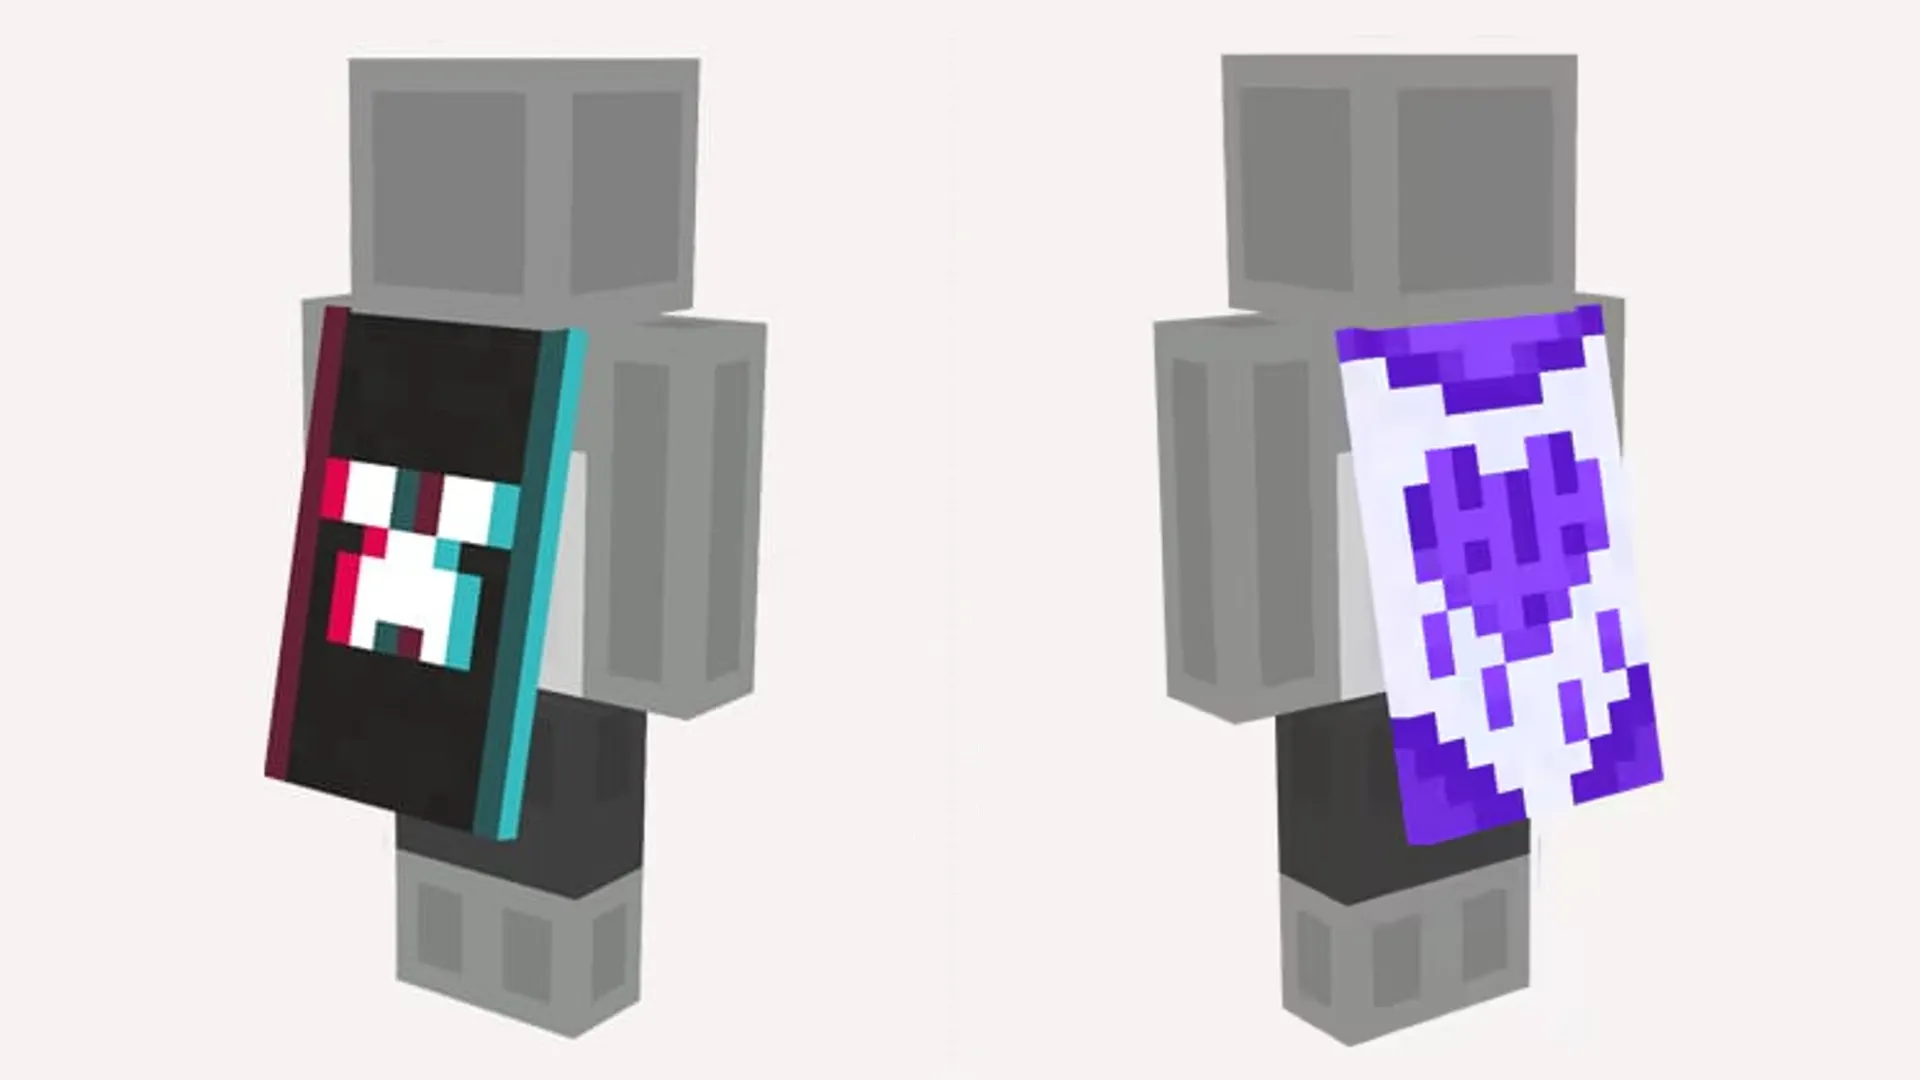
Minecraft capes come in various designs and were traditionally awarded under specific conditions. Initially, these capes were given to Mojang developers, contributors, and Minecon attendees. However, the system has evolved, and now players can acquire capes through various means:
- Account Merging: Merging your Mojang and Microsoft accounts after the migration announcement.
- Event Participation: Watching Minecraft content on platforms like Twitch or TikTok during special events such as Minecraft’s 15-year anniversary.
- Map Submissions: Submitting custom maps to Minecraft Realms.
- Update Engagement: Playing new Minecraft updates shortly after their release.
- Seasonal Promotions: Earning capes as free, seasonal items in the Minecraft Marketplace.
For a comprehensive list of capes and how they were earned, visit the Minecraft Wiki. Note that many of these opportunities are time-limited, making it challenging to obtain some capes once their promotional period ends. If you missed out, some designs might be available on secondary markets like eBay. To stay updated on new cape opportunities, follow Minecraft’s official social media accounts.
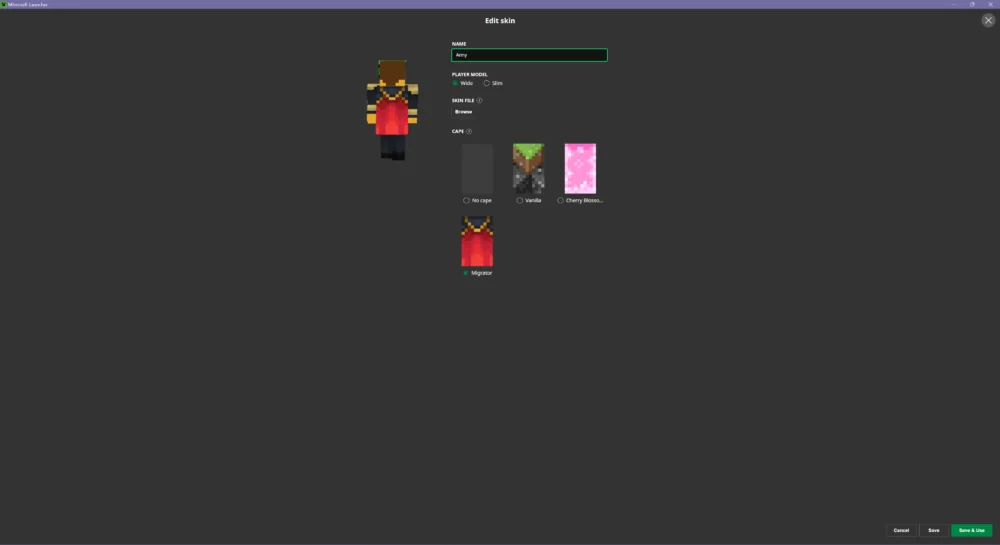
1. Open Minecraft Launcher: Launch the Minecraft launcher and navigate to the Skins tab.
2. Select a Skin: Choose an existing skin or create a new one. Click Edit to customize your selected skin.
3. Add a Cape: In the skin customization window, you will find an option to select a cape from your inventory. Choose your desired cape and click Save & Use to apply it to the selected skin.
Capes in Java Edition are applied per skin, so you can use different capes for different skins.
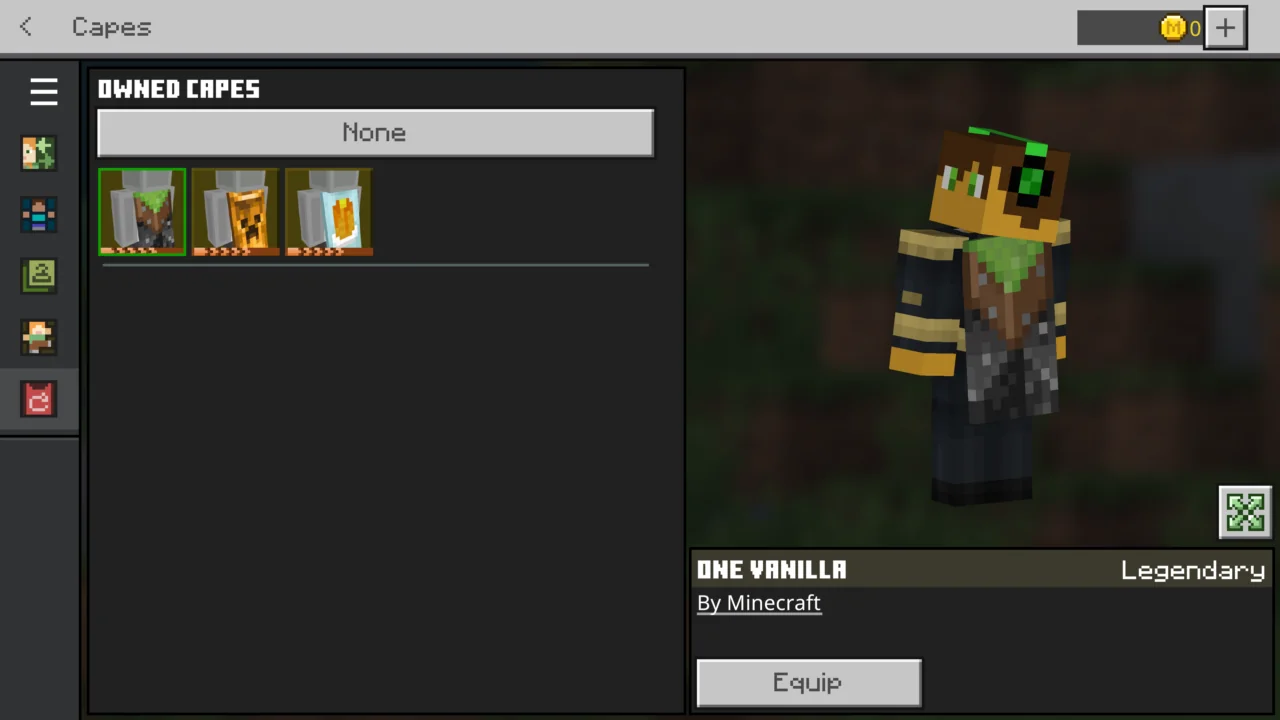
1. Access Dressing Room: Launch Minecraft and go to the Dressing Room tab from the main menu.
2. Select a Skin Preset: Choose the skin preset you want to edit.
3. Apply a Cape: Click on the Capes option in the menu on the left. You will see your available capes; select the one you wish to use. The cape will automatically apply to your selected skin, and a preview will be visible on the right-hand side.
Bedrock Edition manages skins and capes separately, allowing you to have different capes for different skin presets.
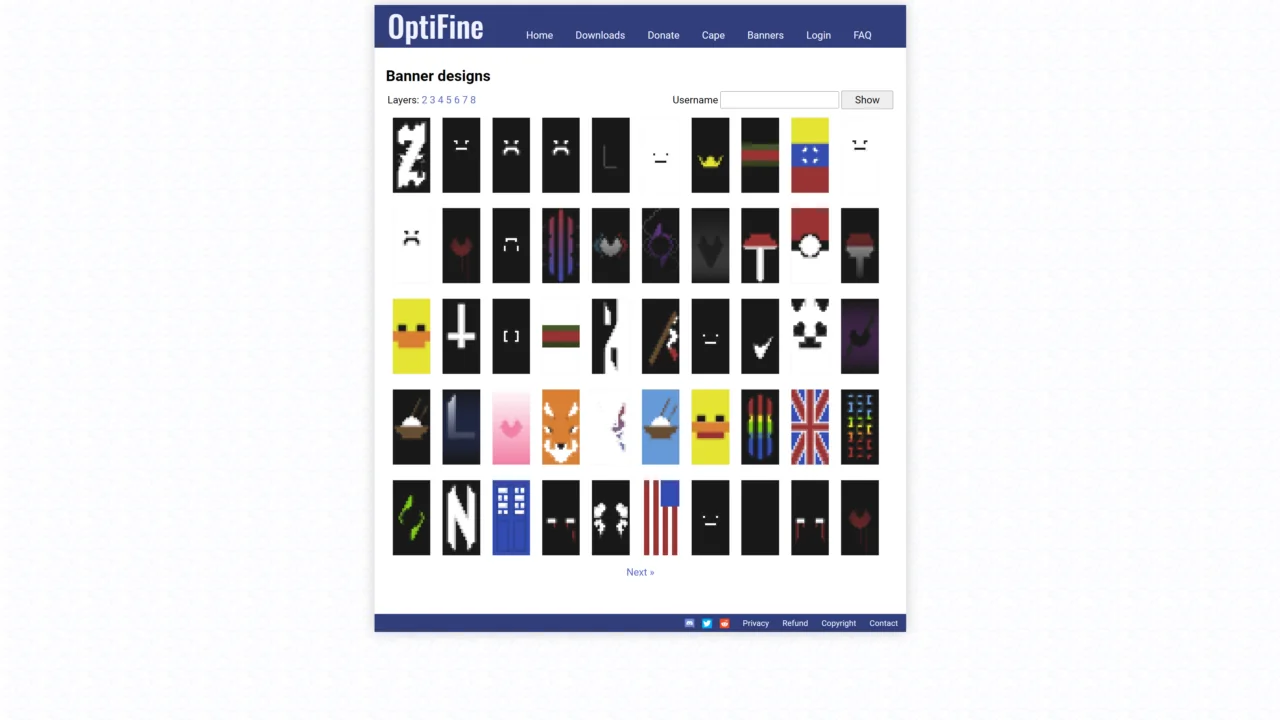
Optifine, a popular third-party mod for Minecraft Java Edition, allows players to use custom capes. Note that these capes are only visible to other Optifine users and are not free, requiring a $10 donation to the Optifine project. Here’s how to get and use an Optifine cape:
1. Visit Optifine Website: Go to the official Optifine website and navigate to the Donate tab.
2. Select a Cape: Choose from pre-made Optifine capes or use the Custom option to design your own. You can also select a cape based on a banner by entering the banner’s URL.
3. Make a Donation: Complete the $10 payment via the Paymentwall button.
4. Equip the Cape: After processing, your selected cape will appear in-game for you and other Optifine users to see.
While Optifine capes offer customization and are popular among players, their visibility is limited to other Optifine users. As the mod’s popularity wanes with newer solutions like Iris, the number of players who can see your cape may decrease.
By following these steps, you can showcase your unique capes in Minecraft and enjoy this stylish addition to your character's appearance.
Juxia Figure Review - Hatsune Miku 100th Adventure Ver Preorder Now!
Juxia Game Review – WoW Midnight Deep Dive: Release Date, Player Housing, and Prey System!

Juxia Anime Review - 'The Demon King’s Daughter Is Too Kind!!' Anime Upcoming Adaptation!

Juxia Anime Review - OSHI NO KO Season 3 Release Date, Trailer, and Story Predictions!
Juxia Game Review - Koei Tecmo’s Atelier Ryza ASMR Hits DLsite!

Juxia Game Review - Elon Musk Just Challenged LoL Pros With Grok 5, and the Internet Is Losing It!
Juxia Game Review - The Ultimate Final Fantasy VII Remake Intergrade Switch 2 & Xbox Breakdown

Juxia Figure Review – 15th Anniversary Junko Enoshima Figure Every Fan Needs!
Juxia Movie Review - The Legend of Zelda Live-Action Movie Coming Soon!
Juxia Game Review - Where Winds Meet Surged Past 2 Million Players on Day One!

Last Garden: Survival
| Strategy

Tabla Drum Kit Music
| Music

M3 Real Car Simulator 2026
| Sports

Türkiye Ligi 2026: Head Soccer
| Sports

Minibus Car Simulator Real Van
| Simulation

World Head Soccer Cup 2026
| Sports

Tokyo Drift Crash
| Sports

Racing Car Drifting Car Game
| Sports
Juxia Game Review - Koei Tecmo’s Atelier Ryza ASMR Hits DLsite!
Juxia Anime Review - You Can't Be in a Rom-Com with Your Childhood Friends! Anime Adaptation
Juxia Anime Review - Why You Should Revisit Chained Soldier Explosive First Season
Transform Text and Photos into incredibly creative emojis with 'AI Emoji'
Sword of Justice Global Launches Soon - Everything You Must Know!
Sword of Justice Class Guide (7) - All School Classes Explained & Reviewed!
Sword of Justice Class Guide (6) - Sylph: Healing, Revival, and Grace in Battle!
Sword of Justice Class Guide (5) - Ironclad: Why This Rare Tank Class Is Worth Playing!
Sword of Justice Class Guide (4) - Numina: Master the Art of Poison and Tactical Combat!
LIVE A HERO
Retro Hero Mr Kim
Empire of Passion
Arcane Quest Legends
Magic Snap: Momotaro
AllStar Manga Heroes
Lunescape
ONE PIECE Thousand Storm JP
Tap Titans 2